
Katie Lambert is a Yosemite local, phenomenal climber, and Climber Steward. Katie was a volunteer with Yosemite Climbing Management last year, and took some time during her last rest day to share some awesome detailed beta on a shady, uncrowded Valley day. Heads up, Katie is a 5.14 climber and big wall first-ascentionist, know your personal limits and use good judgement. Thanks for the post Katie!
June has just begun but the summer heat is on! It’s time to start thinking about shady, uncrowded objectives and while there are the obvious things to do there are also many obscure and often forgotten classics beckoning the adventure seeking climber to come climb them. One route that stands out as a really good objective is the East Buttress of Lower Cathedral, 5.10c.
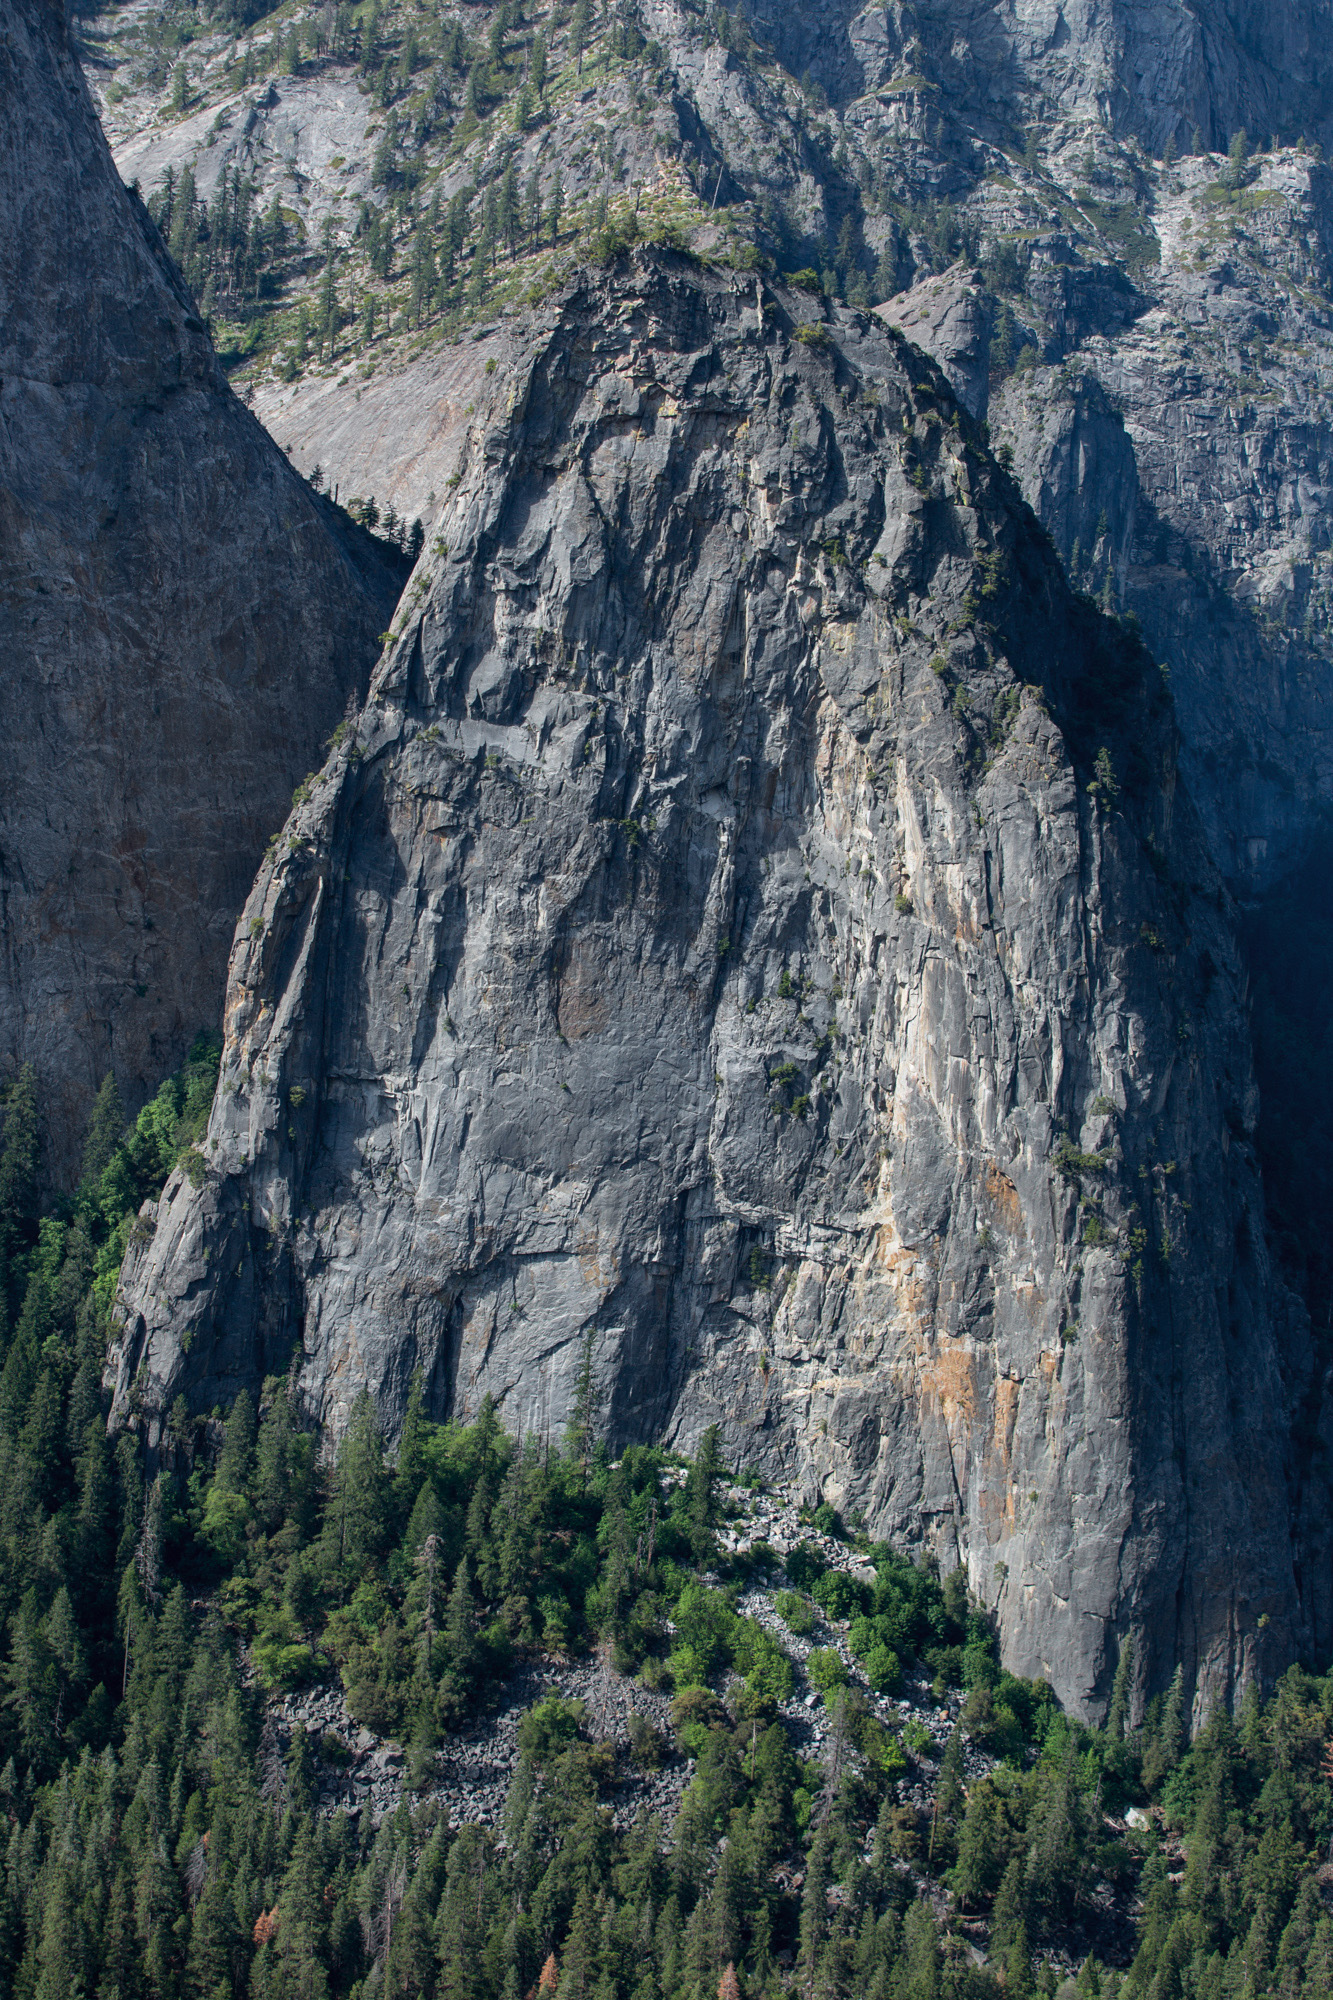
For several years I have looked over from the west face of Middle at the shadowed dihedrals of this line and wondered about it. So, I finally wrangled a willing partner and set off on a pretty classic Yosemite journey.
First established in 1956 by a team of classic hardmen; Mark Powell, Jerry Galwas and Don Wilson and then freed in 1965 by Steve Thompson and Chris Fredericks this 1400′ route runs the gamut of wide, weird, thin, technical, wandering and aesthetic.
The Reid topo is pretty accurate but don’t fall asleep at the wheel because you will need to use your route finding skills to ascend the top half of the formation. The following is a brief rundown of helpful beta:
Standard rack with one #4 BD Camalot (#6 is optional)
P1: 5.8 Chimney. A bit runout but goes at standard Valley thuggishness. Bring plenty of slings. Belay at the top of the chimney just below the ledge. Gear belay.
P2: 5.10a – follows a varied crack to gain a brushy ledge. The crux is thin and you can employ some stemming. Move the belay to the left of the ledge after this pitch. Tree belays.
P3/P4: 5.9 – Starts the left leaning dihedral system. The base of the crack is pretty dirty and a bit closed off, it’s advisable to climb out left onto a ramp and then traverse back into the dihedral close a rotten, large block. Use many slings. DO NOT PULL on this BLOCK. The crux of this pitch is wide but there are also face holds out left. Continue up to a tree and either belay here or continue up another 40 to 50 feet of 5.8 to the end of P4 to a small ledge. Gear belay.
P5: 5.10c Continue up the dihedral to The Crux of the route – employ an array of tactics from jamming, to chimneying to stemming. A little awkward but pretty money! Two fixed pins mark the heart of the crux. Continue up through another wide spot and out a nice roof to a ledge. Gear belay.
From here ascend up a series of bushy, blocky and loose terraces. Once at the top of these terraces you are below the headwall. From here you need to move to the far right, aiming for the true buttress of the wall. It’s easiest to climb up and over a bunch of broken and large blocks and then down again to the start of a nice clean right facing dihedral with a small roof. Belay down by a tree, there is a fixed pin high on the route.
p6: 5.10a Climb up a nice clean right facing corner to a small roof. Really good gear and one fixed pin. Belay at a tree.
P7: 5.6 Ramp which leads up and left. Follow this for about 150 feet and belay on a grassy ledge a little below a large white/orange flake. Gear belay
P8: 5.9 Climb the up to the white/orange flake and into the dihedral above. Be mindful of loose rock and the large detached block near the start of the true dihedral. There is a dihedral to the right of this that has an old fixed pin with some tat on it – DO NOT GO THERE. Climb up the dihedral and then traverse to the right to belay at a tree.
P9/10/11: 5.7/5.6/5.5 Climb back left into the dihedral. The rock from here on out gets looser and you must be mindful of choss! You can link these last three pitches together to gain the summit or break them up with belays at obvious ledges. There is no real defined way through these pitches but taking the path of least resistance is best.
Descend via the notch of the Gunsight – a few rappels may be useful.
It is definitely advisable to wear a helmet on this route, to bring water, food and a headlamp.